To make a handmade birthday card, you need sturdy 200–300 gsm cardstock, sharp scissors or a paper trimmer, and strong adhesive such as double-sided tape. Plan the layout with safe margins, decorate with balanced colors, hand lettering, or 3D details, and finish with a heartfelt birthday message and matching envelope for a lasting keepsake.
How to Make a Birthday Card Step by Step
Gather materials: 200–300 gsm cardstock (A6/A5), paper trimmer/scissors, bone folder, double-sided tape/glue dots, gel/brush pens; optional recycled kraft paper, washi tape, stickers, pressed flowers (acid-free/archival).
Plan layout: select a theme (floral, geometric, or character), set ~1 cm of safe margins, and choose a single-fold/gatefold/tri-fold format.
Cut & score: trim to size; score the fold with a bone folder to prevent cracking and ensure clean edges.
Design front: place focal art/photo and headline; use contrasting yet harmonious colors; keep balanced white space.
Write message: neat hand lettering/calligraphy; open with “Happy Birthday, [Name]!” then add a personal wish or memory.
Add effects: pop-up/3D layers with foam squares, dry embossing or heat embossing, subtle metallic gel-pen accents.
Use a template: create/edit in Microsoft Word or Canva (text boxes, photo placeholders); print on high-quality cardstock.
Finish & protect: attach ribbons/charms after ink dries; seal layers securely; make a matching envelope with an envelope template and add a sticker/wax seal.
Quality check: smudge test, ensure card stands upright, confirm weight/size for mailing and postage.

What materials do you need to make a birthday card?
Start with sturdy cardstock or thick craft paper as the base. Choose paper in the 200–300 gsm range so the card stands upright and supports decorations without bending. Keep sharp scissors, a paper trimmer, or a craft knife nearby for precise edges and shapes.
Use a reliable adhesive such as double-sided tape, craft glue, or glue dots to secure layers and decorative elements. Prepare colored pens, brush markers, or watercolors for hand lettering and illustrations.
For decoration, gather washi tape, die-cut stickers, pressed flowers, sequins, or slim ribbons. These lightweight accents add depth and texture without making the card too heavy. Select acid-free materials to prevent fading or yellowing, ensuring your card stays bright over time.
Extra tools like a bone folder for crisp folds, a hole punch for tags, and simple stencils for neat lettering can further improve accuracy and speed.
Which paper or cardstock works best for a handmade card?
Select 200–300 gsm cardstock for a strong, professional finish that supports layers and decorations. Textured papers such as linen or hammered add subtle character and suit classic or elegant styles. A smooth white or cream sheet gives a clean base for detailed drawings or watercolor effects.
For an eco-friendly choice, try recycled kraft paper. Its natural tone pairs well with rustic or minimalist designs and takes ink and stamping evenly. Always test your pens or paints on a small piece first to confirm smooth application and drying time.
How do you pick the right size and fold type?
Decide on the final size before cutting. Popular options include A6 (postcard size) and A5 (half of A4), which fit standard envelopes and are easy to mail.
A single-fold card is quick and classic. For a more creative format, consider a gatefold (two flaps opening from the center) or a tri-fold design, both ideal for hidden notes or layered illustrations. Score the fold line with a bone folder or a blunt knife to achieve crisp, professional edges that won’t crack or tear.
How do you design the card’s theme or layout?
Start by sketching a simple layout on scrap paper. Choose a theme that reflects the recipient’s style – floral for elegance, geometric for a modern look, or character-based for playful designs.
Plan where each element will go so images, lettering, and embellishments feel balanced. Keep safe margins of about 1 cm on all edges to prevent text or decorations from shifting off-center after folding.
If you prefer a precise design, create a digital mockup using free tools like Canva or draw light pencil guides directly on the cardstock. This extra planning ensures the finished card stays neat and visually appealing.
What do you need to make an attractive card that stands out?
Select contrasting yet harmonious colors—for example, pastel backgrounds with bright lettering or bold shades paired with soft neutrals: layer paper cutouts, patterned inserts, or decorative frames to add dimension.
For extra depth, include 3D elements such as foam stickers, raised lettering, or paper quilling. Touches of metallic ink, gold gel pens, or subtle glitter bring a festive feel without overpowering the design.
Balance every decorative detail with enough white space so the main message remains clear and the overall look stays polished.
Tips to make a handwritten birthday card with a personal touch?
A handwritten message instantly makes a card more personal and memorable. Choose smooth gel pens or fine liners to keep lines clean and prevent smudging. If you enjoy decorative writing, practice calligraphy or brush lettering on scrap paper until the strokes feel natural.
Begin with a warm greeting that suits the relationship—formal for colleagues, casual for close friends, or affectionate for family members. Keep each line evenly spaced and use gentle pressure to maintain consistent ink flow. Adding small sketches, borders, or hand-drawn icons such as balloons or hearts enhances the handcrafted feel.
How to write the perfect message inside the card?
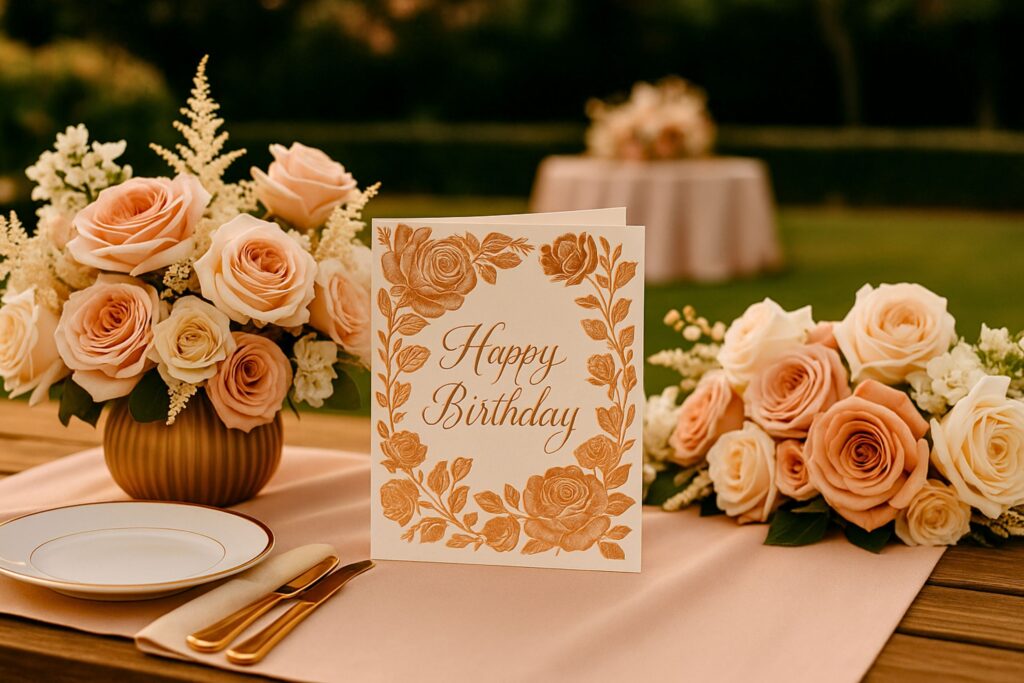
Begin with a clear, heartfelt line such as “Happy Birthday, [Name]!” to set a warm tone from the start. Add a personal memory, a sincere compliment, or a thoughtful wish for the coming year to make the message unique and memorable.
For someone very special, include a phrase like “Happy Birthday, beautiful lady” to show admiration and affection, or expand with “Here’s how to wish happy birthday to a beautiful lady with words that stay in her heart—highlight her kindness, achievements, and the joy she brings to everyone around her.”
Conclude with a brief sign-off such as “With love,” “Warmest wishes,” or “Best regards.” This simple structure keeps the greeting personal, elegant, and ideally suited to any handmade birthday card.
Can you create a birthday card template in Word or other software?
Yes. Microsoft Word, Canva, and other design tools provide ready-made templates that simplify the process. Choose the card size you want – common options are A6 and A5 – and set precise margins before adding text or images.
Insert shapes, photo placeholders, or decorative borders to customize the layout. Save the file as a reusable template so you can adjust colors, fonts, or graphics for future cards. For best results, print on high-quality cardstock and fold along a scored line to keep edges crisp and professional.
Add final decorative touches and prepare an envelope
Wait until all ink and glue are completely dry before adding decorations. Secure lightweight embellishments such as ribbons, pressed flowers, sequins, or small charms with double-sided tape or glue dots.
To create a matching envelope, trace an envelope template onto coordinating paper or cardstock. Cut it carefully, fold along the scored lines, and fasten edges with strong adhesive. For a refined finish, add a sticker, wax seal, or decorative label that matches the card’s color scheme.
Crafting a birthday card on your own is more than a creative project—it is a meaningful gift in itself. A handmade card adds warmth and personality that store-bought greetings rarely match.
This concept fits perfectly with birthday picnic ideas. You can bring your card to the birthday picnic and share it in person, letting everyone admire the original design and the care you put into every detail. A thoughtfully crafted birthday card becomes part of the gathering’s memory, making the birthday celebration more special.
FAQs
How can I personalize a handmade birthday card for different age groups?
Tailor the design and message to the recipient’s age. Use bright colors and playful patterns for children, elegant fonts and minimalist layouts for adults, and nostalgic photos or vintage motifs for older family members.
What are creative ways to add photos to a birthday card?
Print small images on photo paper, create a mini collage, or include a pocket where extra prints can be stored. Laminating or using transparent adhesive film helps protect photos from smudges.
How do I incorporate pop-up or 3D elements safely?
Use lightweight paper for pop-ups and score folds carefully. Attach moving parts with thin double-sided tape or small paper hinges to keep the mechanism smooth and prevent tearing.
Can I combine digital prints with hand-drawn details?
Yes. Print the base design and then add watercolor accents, calligraphy, or embossed textures. This hybrid method saves time while preserving a handmade look.
How do I make a birthday card waterproof or weather-resistant?
Seal the surface with a thin coat of clear acrylic spray or laminate the front layer. Choose water-resistant ink to keep lettering sharp if exposed to moisture.
What is the best adhesive for layered paper designs?
Use archival-quality glue sticks for flat layers and foam adhesive squares for raised elements. Both keep paper smooth and prevent warping over time.
How can I include a gift card inside without damaging the design?
Create a paper sleeve or pocket on the inside cover. Reinforce the edges with double-sided tape to securely hold the gift card without adding extra bulk.
How do I emboss a handmade birthday card at home?
Use an embossing pen and embossing powder, then heat gently with a craft heat gun. This technique creates raised, glossy lettering or patterns that stand out visually and to the touch.
Can I recycle old greeting cards into new designs?
Absolutely. Cut out decorative elements or repurpose sturdy sections as inserts. This reduces waste and adds a unique, layered texture to new cards.
What is the ideal storage method for finished handmade cards?
Store in acid-free boxes or clear archival sleeves to prevent yellowing and protect delicate embellishments. Keep cards flat in a cool, dry environment.
How can I create a scented birthday card?
Lightly spray the inside with a fabric-safe fragrance or include a small sachet. Ensure scents are mild and non-greasy so they don’t stain the paper.
How do I add a hidden message or secret compartment?
Incorporate a fold-out flap, sliding tab, or pull-out insert between card layers. Use light cardstock for movable parts so the card remains easy to open.
Are there digital tools to preview a handmade card before crafting?
Yes. Design software such as Adobe Illustrator or free apps like Canva allow you to mock up the entire card, test color schemes, and adjust spacing before printing or assembling.
How can I create a layered watercolor background without warping paper?
Use cold-press watercolor paper or pre-stretch your cardstock. Allow each layer to dry completely before adding the next wash to maintain a smooth surface.
How do I attach heavier decorations like small charms or beads?
Use strong craft glue or thin wire threaded through tiny punched holes. Secure the back with tape or a second cardstock layer for a neat finish.
What is the best way to write metallic or white text on dark paper?
Choose gel pens formulated for dark surfaces or apply a thin layer of white paint as a base before lettering. Let each layer dry fully to avoid smudges.
Can I include interactive elements such as pull-tabs or spinning wheels?
Yes. Cut precise slots for pull-tabs or use brads for spinning wheels. Keep mechanisms lightweight and test movement several times before final assembly.
How do I make a fold-out birthday card with multiple panels?
Score and fold a long strip of cardstock into accordion or gatefold panels. Design each section to reveal a sequence of messages, photos, or drawings as it unfolds.
What is the most eco-friendly way to package or mail a handmade card?
Use envelopes made from recycled paper and biodegradable adhesives. For mailing, choose thin yet sturdy materials to reduce weight and save on shipping emissions.
How can I create a keepsake card that doubles as wall art?
Design the card with a detachable illustration or framed insert. Recipients can display it as artwork, giving your handmade creation a longer life and decorative purpose.
✨ Love picnics as much as we do?
Join our community and get fresh picnic ideas, tips, and inspiration straight to your inbox. No spam, just simple ways to make every picnic special. 🌿🍓